Introduction
A basic manufacturing process, machining generates precisely dimensionally and geometrically shaped parts. No machining technique, though, is flawless and variations are unavoidable. Tolerances define the allowed limits of deviation from designated dimensions, so regulating these variations. Part functionality, manufacture, and cost-effectiveness in machining depend on an awareness of tolerances.
What Are Machining Tolerances?
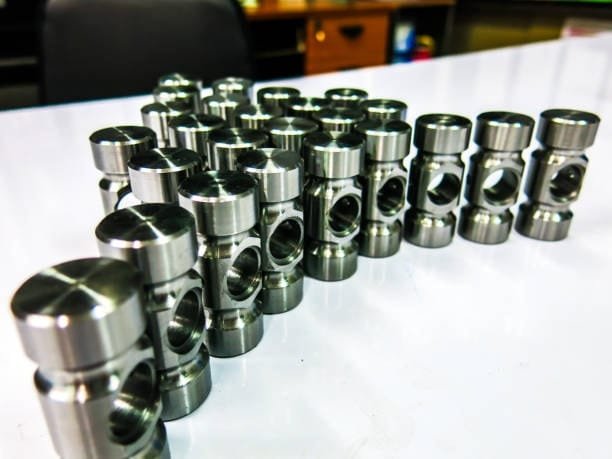
Machining tolerances are the allowed variations in the dimensions of a part. They control the degree of variation from a given measurement that is allowed without sacrificing the fit or performance of the part. In sectors including aerospace, automotive, and medical device manufacture—where accuracy is crucial—these tolerances are absolutely vital.
Why Are Tolerances Important?
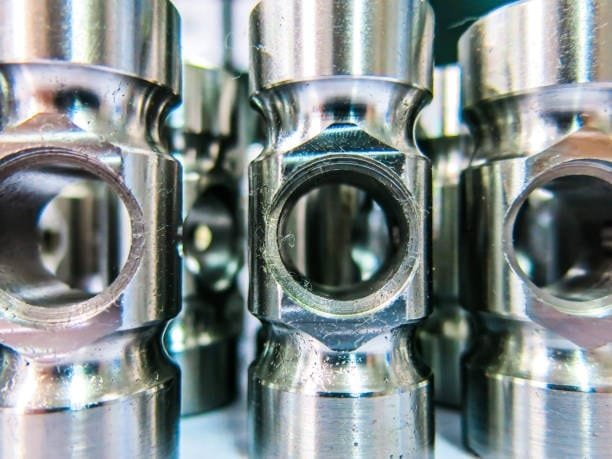
- Ensures Proper Functionality – guarantees proper functionality; components must fit together precisely to operate as expected.
- Enhances Interchangeability – Parts made by several manufacturers or at different times have to be compatible.
- Controls Manufacturing Costs – Tight tolerances call for more exact machining, which raises production costs.
- Reduces Waste and Rework – Correctly specified tolerances help to reduce waste and rework by minimizing scrap and increasing efficiency.
- Improves Safety and Reliability – In sectors including aerospace and medical, exact tolerances guarantee product dependability and safety.
Types of Machining Tolerances
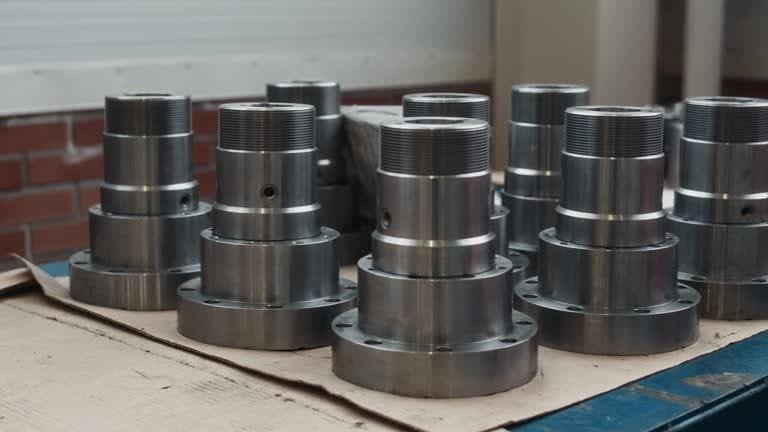
1. Unilateral and Bilateral Tolerances
- Unilateral Tolerance: Variation occurs in just one direction—either positive or negative—unilateral tolerance.
- Example: +0.005/-0.000 mm (just permits a positive deviation).
- Bilateral Tolerance: Variations in both positive and negative directions define bilateral tolerance.
- Example: ±0.005 mm lets equal positive and negative deviations.
2. Limit Tolerances
- Showed as a range with upper and lower bounds.
- Example: the part has to fall within the range 10.005 mm – 9.995 mm.
3. Geometric Tolerances (GD&T)
- Defining and communicating engineering tolerances is accomplished with geometric dimensioning and tolerancing (GD&T).
- It guides feature position, orientation, and shape.
- Key types include:
- Flatness – Flatness guarantees a surface stays within given tolerance.
- Roundness – governs circular deviations.
- Parallelism – Parallelism guarantees features stay in line with a datum.
- Perpendicularity – Perpendicularity regulates the 90-degree relationship between elements.
- Concentricity – Ensures one feature is centered inside another.
- True Position – Indicates, from a datum, the precise location of a feature.
4. Fit Tolerances
- Specifies how components fit one another, classified into:
- Clearance Fit: Loose allowing movement ( bearings’ bearings’ bearings).
- Interference Fit: Tight fit needing force for assembly—that is, press-fit components—that calls for interference fit.
- Transition Fit: Intermediate fit, in which parts can be assembled by hand but may also call for small force.
Factors Affecting Machining Tolerances
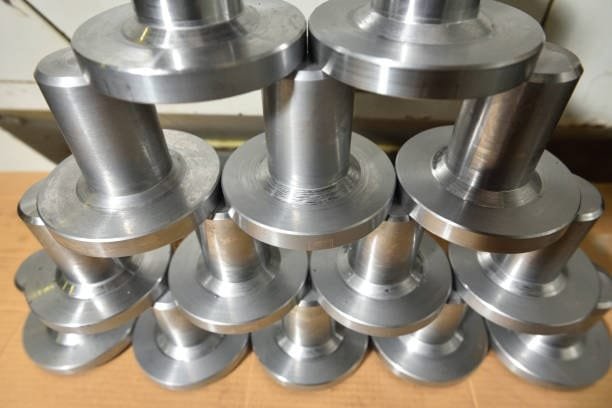
Tolerances are specified and maintained under influence by several elements:
- Material properties—some materials expand, contract, or distort more than others, so influencing accuracy.
- Machining Process – EDM machining, grinding, and CNC machining all attain tighter tolerances than traditional milling or turning.
- Tooling and Machine Accuracy – Better tolerances come from highly precision tools and machines.
- Operator Skill Level – More experienced machinists have better tolerable control.
- Environmental Conditions – Variations in humidity and temperature might compromise measurements.
- Inspection and Quality Control – Regular inspections guarantee that parts remain within tolerance limits and help to control quality.
- Design Considerations – avoiding too high tolerances helps lower expenses and increase manufacturing ability.
Standard Tolerance Ranges in Machining
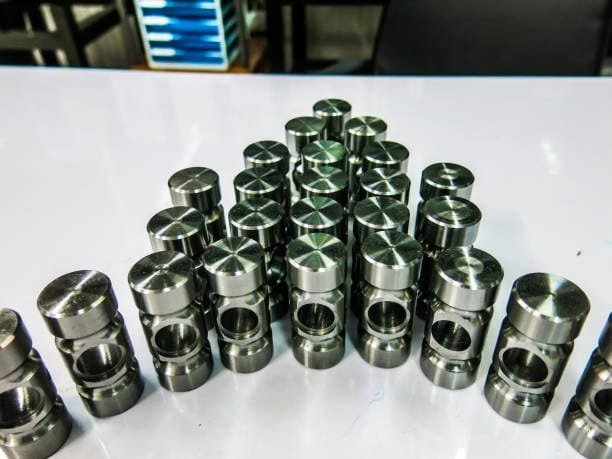
Various machining techniques generate different degrees of precision. The following are some overall tolerance ranges:
- Conventional Machining (Milling, Turning): ±0.05 mm to ±0.1 mm
- CNC Machining: ±0.01 mm to ±0.05 mm
- Grinding: ±0.002 mm to ±0.01 mm
- Electrical Discharge Machining (EDM): ±0.002 mm to ±0.005 mm
- 3D Printing: ±0.1 mm to ±0.5 mm (depends on the material and printer resolution)
Best Practices for Achieving Precise Tolerances
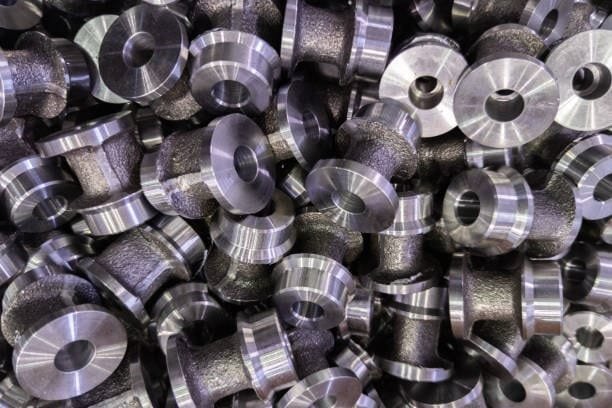
Use these best practices to guarantee great accuracy machining while under budget control:
- Use Proper Materials – Use appropriate materials; choose ones with consistent dimensional characteristics.
- Optimize Machining Processes – Use CNC and high-precision machining techniques for tight tolerances to maximize machining processes.
- Control Environmental Factors – Maintaining temperature-regulated surroundings helps to lower material expansion.
- Regular Tool Maintenance – Frequent tool maintenance guarantees sharp and in good condition cutting tools.
- Implement Quality Control Measures – Apply coordinated measuring machines (CMMs) and other highly accurate inspection instruments in quality control.
- Design for Manufacturability (DFM) – Steer clear of too high tolerances to lower unneeded manufacturing expenses.
- Use GD&T Properly – Clearly specify functional needs and steer clear of too restrictive policies.
- Perform Statistical Process Control (SPC) – Monitor production processes to keep consistency using statistical process control (SPC).
Challenges in Machining Tolerances
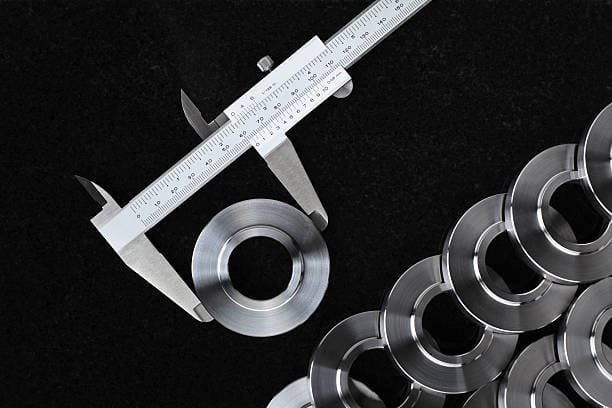
Machining technology has advanced, but maintaining tolerances remains difficult:
- Thermal Expansion – Materials either expand or shrink with temperature changes.
- Machine Wear – Machines could lose accuracy with time.
- Complex Geometries – Intricate designs call for specific machining methods in complex geometries.
- Cost vs. Precision Trade-Off – Tighter tolerances raise manufacturing costs, hence careful balance is needed in cost against precision trade-off.
- Measuring and Inspection Limitations – High-precision components call for sophisticated metrology instruments.
Standard Machining Tolerances
Every manufacturer sets particular machining tolerances depending on the needs of their production techniques and parts. Still, some international standards act as broad rules to guarantee consistency and excellence across sectors. ISO 2768 is one of the most often accepted criteria for machining tolerances.
ISO 2768: International Standards for Machining Tolerances
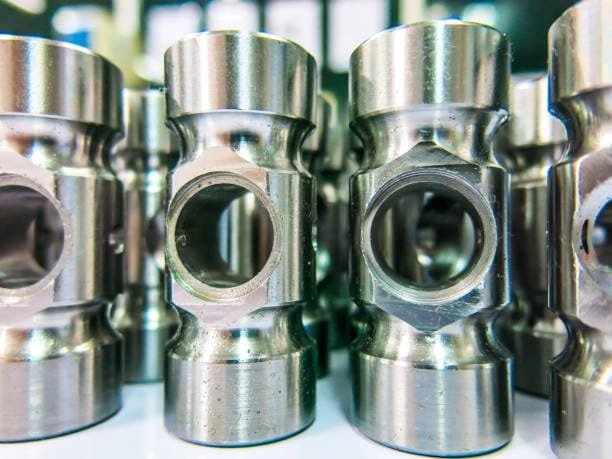
Particularly helpful for parts lacking specifically stated tolerances on technical drawings, the ISO 2768 standard defines general machining tolerances. This criteria guarantees that parts fit together correctly in assemblies and helps manufacturers to keep consistency in accuracy.
Tolerance Classes in ISO 2768
Based on precision criteria, ISO 2768 groups tolerance levels into several classes:
- f – Fine (used for delicate or complex components, High precision)
- m – Medium used in general industry, medium precision)
- c – Coarse (usually for less important parts, Lower precision)
- v – Very Coarse (lowest precision) for either large or rough components
These tolerance categories enable manufacturers to decide on the appropriate degree of variation in machining operations, so guaranteeing that parts remain functional even with small deviations.
Types of General Tolerances Under ISO 2768
Apart from linear and angular measurements, ISO 2768 specifies tolerances for geometrical elements influencing machined metal parts” alignment, shape, and orientation. These fit into the following groups:
1. Linear and Angular Tolerances
ISO 2768 lists approved deviations for:
- Linear dimensions length, width, height, depth.
- Angular dimensions Angles between surfaces and edges define angular dimensions.
- External radii and chamfer heights
Classes H, K, and L divide the tolerance levels for these dimensions; H is upper and lower limits the most exact and L lets more variation possible.
2. Geometrical Tolerances
Furthermore offering recommendations for the following geometric features is ISO 2768:
- Straightness – Ensures a feature stays in a straight line inside the permitted tolerance range.
- Flatness – Flatness regulates the degree of deviation a surface can show from being exactly flat.
- Perpendicularity – Regulates the permissible deviation of one surface or feature from a perpendicular orientation relative to another.
- Roundness – Roundness controls the allowed departure from a perfectly circular form.
- Symmetry – Symmetry guarantees even distribution of elements around a central axis or plane.
Limitations of ISO 2768
Although ISO 2768 offers useful guidelines, it reflects general machining tolerances and might not apply to every type of part. Certain sophisticated or highly precise components could need custom tolerances outside of what ISO 2768 specifies. Many times, manufacturers specify special part tolerances catered to their particular designs, materials, and functional needs.
Following ISO 2768 when suitable will help manufacturers to increase consistency, lower production mistakes, and raise the general machined component quality. Custom tolerance standards and criteria may be required, though, for critical uses including aerospace, medical devices, or high-performance mechanical assemblies, to guarantee best performance.
The Importance of Machining Tolerances in Manufacturing
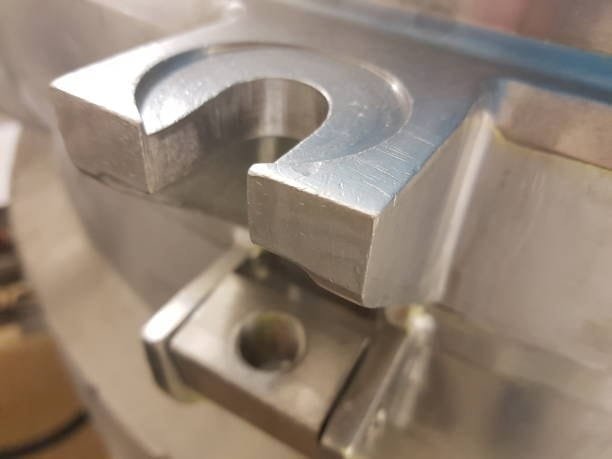
Some degree of variation in the final output is unavoidable even with the most sophisticated tools and highly precise cutting blades. Variations from the intended dimensions can be caused in part by elements including tool wear, cutting pressure, material properties, and environmental conditions. Here is where machining tolerances are quite important.
Machining tolerances specify upper limit on the allowed range of variation in the dimensions of a part, so guaranteeing that components operate as intended without needless waste or overheads. For parts that have to fit together, such mating components, tolerances are especially important.
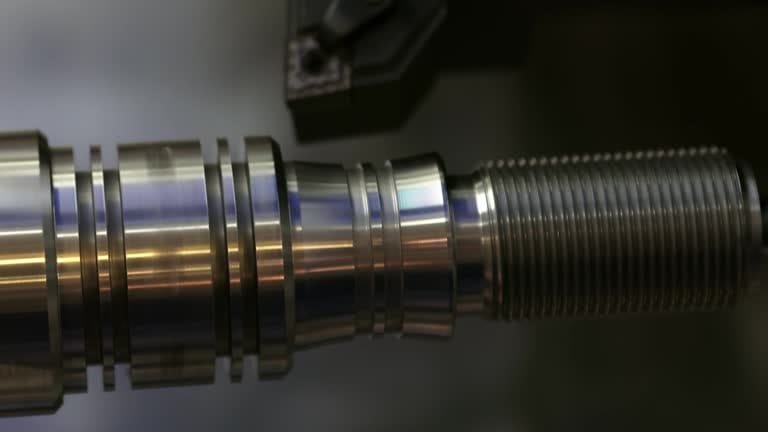
Imagine, for instance, a bushing meant to fit onto a rod with a ±0.002 inch tolerance. The bushing won’t fit on the rod if its inside diameter is reduced too small. On the other hand, if it is cut too big, the fit will be loose and unstable, so maybe rendering plastic parts of the part useless. Establishing exact tolerances helps producers to keep quality, improve efficiency, and guarantee component interchangeability.
Key Benefits of Machining Tolerances
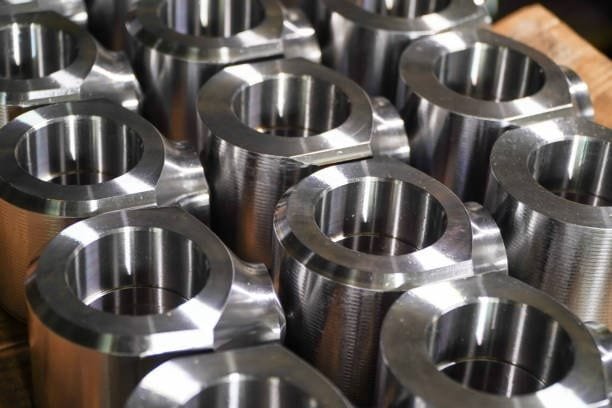
Particularly in terms of efficiency, cost control, and guarantee of product dependability, well defined machining and very tight tolerances can offer several benefits in the manufacturing process.
1. Minimizing Material Waste
Should manufacturers be obliged to discard every component that deviates somewhat from the exact design specifications, the volume of wasted goods and manufacturing expenses would be outrageous. Establishing reasonable tolerances helps manufacturers to allow small deviations while still producing functional components, so greatly lowering material waste and raising general production efficiency.
2. Reducing Manufacturing Costs
Although more accuracy is usually desired, too tight tolerances can raise manufacturing costs without always increasing functionality. Extreme precision calls for slower machining speeds, specialized tools, and extra quality control procedures. Many times, choosing a somewhat looser tolerance range—while still preserving component performance—can increase efficiency, cut machining time, and lower total costs.
3. Enhancing Component Interchangeability and Faster Replacements
Standardized machining and standardized tolerances that let parts be interchanged. Should a machine component fail, a replacement component with the same tolerance criteria can be fast placed without requiring special modifications. This guarantees that equipment stays operational with least disturbance and helps to minimize downtime.
4. Ensuring Product Quality and Performance
Machining tolerances set rigorous criteria to decide whether a component is fit for use or defective, not just offer “wiggle room” in manufacturing. Manufacturers can uphold high standards, increase product dependability, and raise end-user satisfaction by enforcing exact tolerance limits by means of which to control quality.
Key Factors That Influence Machining Tolerances
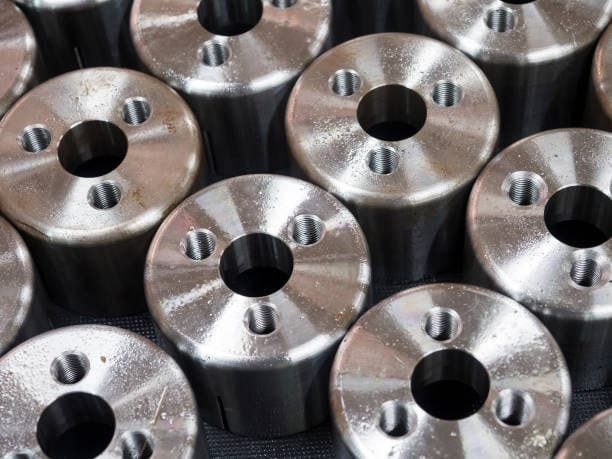
Engineers and designers establish machining tolerances early in the product development process, taking into account several critical factors that can impact precision. These factors primarily include material properties, machining methods, and environmental conditions.
1. Material Properties
Early in the process of product development, engineers and designers set machining tolerances considering several important factors that might affect accuracy surface roughness. Mostly these elements are environmental conditions, machining techniques, and material characteristics.
Abrasiveness
Because of their particular mechanical and thermal characteristics, different materials react differently to machining techniques. While some materials may provide difficulties requiring tolerance range adjustments, others are easy to machine linear and angular dimensions. The following elements have to be give great thought:
- Particularly abrasive are phenolics (fabricated reinforced laminates) and glass laminates, which can reduce cutting tool lifetime and compromise cut accuracy.
- Cutting these materials could call for looser tolerances or specialist cutting tools to handle higher tool wear.
Hardness and Rigidity
Machining a material precisely depends much on its hardness and flexibility.
- Because soft or flexible materials—such as polyisocyanurate, polyurethane, and extruded polystyrene (XPS) foam—tend to distort under machining forces—looser tolerances may be necessary determining tolerances.
- Tighter tolerances made possible by harder materials—such as metals and ceramics—allow machining of them to prevent too much tool wear to call for extra cooling measures.
Heat Stability
Some machining operations produce significant heat, which can change cutting material dimensions.
- Plastics, for instance, expand readily thermally. Should too much heat develop during machining, the material might momentarily expand and produce erroneous cuts cnc machined parts.
- Should heat-sensitive materials be involved, manufacturers may have to use alternative cutting techniques or coolants to guarantee dimensional accuracy.
Manufacturers can improve accuracy, lower costs, and guarantee premium, interchangeable components by giving these elements great thought and applying suitable tolerance criteria. Achieving effective, dependable, and reasonably priced manufacturing processes depends on the deliberate application of machining tolerances achieve tight tolerances.
Conclusion
A key component of precision manufacturing, machining tolerances guarantee dependable, functional, reasonably priced components. Knowing several kinds of tolerances, variables influencing them, and best techniques for preserving accuracy helps companies streamline their operations. Manufacturers can produce excellent results without needless expenses by juggling their tolerance requirements and criteria with production efficiency cnc machining tolerances. Adopting appropriate machining techniques, material selection, and inspection procedures can help businesses keep accuracy and dependability while controlling manufacturing expenses.

